End Styles - Online Store
-
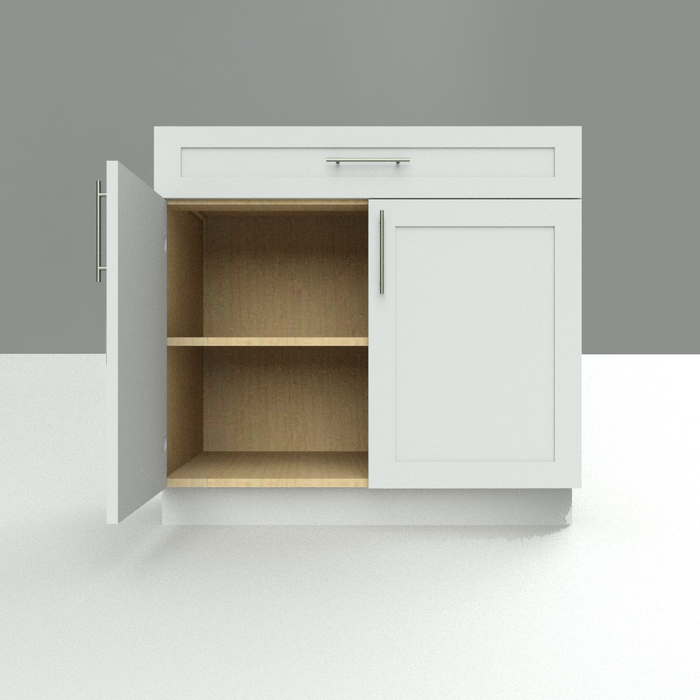
![base cabinet next to cabinet]()
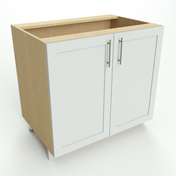
Unfinished End
Use this End Style when your cabinet is butting up against another cabinet or appliance. The side will be unfinished, normally using the same material as the interior of the box.
-
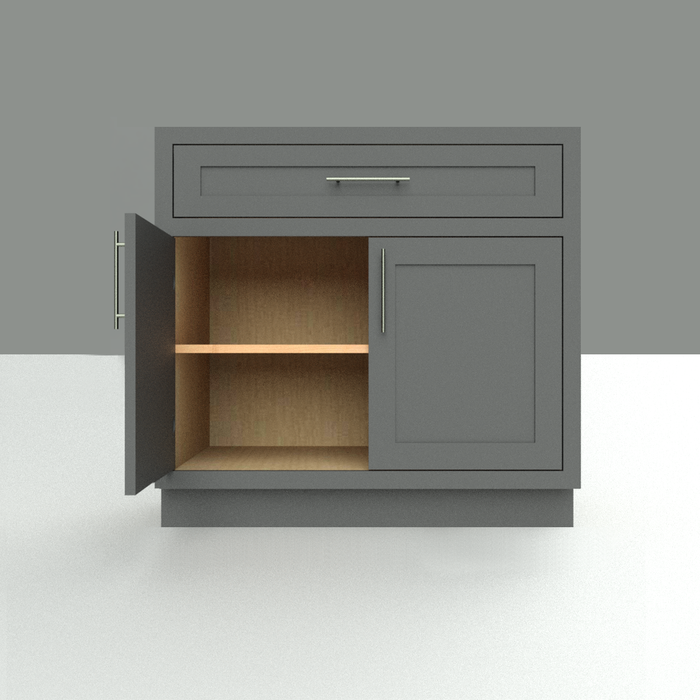
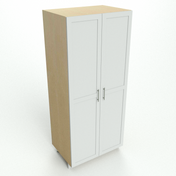
![applied slab to floor]()
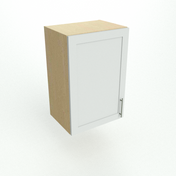
Finished End
Our standard finished end is a 3/4” thick slab to the floor. This is the most popular way to finish the end of a cabinet run. It creates a custom built-in, finished look to your cabinets.
If you have a floating cabinet, the height of your Finished End will be the same as the cabinet box.
-
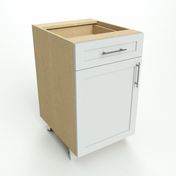
![base cabinet filler]()
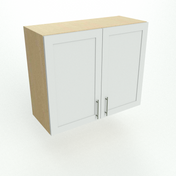
Filler (for wall)
You need a filler every time that your cabinet is next to a wall. This will allow your doors and drawers to open properly, and fill in any gaps that uneven walls may create.


Filler (for wall) - Details
- Our MKE fillers are 3” wide to scribe (cut) to your desired width. You will need a filler every time your cabinet is next to a wall. We recommend making all your fillers 1.5” final width.
- MKE Fillers are flush with the doors to have a consistent, clean look and are not set back (often sold at big box stores).
- The “front cleat” is the finished piece that will fill the gap between the cabinet and the wall. It will be the same finish as the doors. The filler will need to be scribed (cut) to the right size no smaller than 3/4".
- The “return cleat” is the piece of raw material that attaches to the side of the cabinet and supports the “front cleat”.
- Filler Height = Box height
- If your door is 3/4” thick, you will get an MKE Filler 3/4”.
- Do not forget to add a filler every time that a cabinet ends in a wall (no exceptions!). It is not necessary to add fillers if your cabinet dies into another cabinet EXCEPT in corners.
Filler Installation
-
![filler installed next to a cabinet]()
Instruction for Fillers when the door is 3/4" thick.
-
![filler installed next to a cabinet]()
If your door is 7/8"thick, you will get an MKE Filler 1” thick. Follow these instructions for installation.


Applied & Integrated End Styles
-
![applied slab to floor]()
Applied Slab to Floor
Our standard finished end is a 3/4” thick slab to the floor. This is the most popular and requested way to finish the end of a cabinet run. It creates a custom built-in, finished look to your cabinets.
-
![applied slab on cabinet]()
Applied Slab
This option is ideal for the end of an island or cabinet where you want a simple look with a toe-kick. The thickness of the slab is 3/4”.
-
![applied door panel to floor]()
Applied Door Profile to Floor
An upgraded option is to have an applied door panel on the end of your cabinet. It creates a high-end finished look. The thickness is determined by the Door Style (3/4" or 7/8").
-
![applied door panel on cabinet]()
Applied Door Profile
This option is ideal for the end of an island or cabinet where you want a high-end look with a toe-kick. The thickness is determined by the Door Style (3/4" or 7/8”).
-
![integrated end cabinet]()
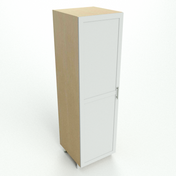
Integrated to Floor
The side of the cabinet box is finished to the floor. This is the standard look for big-box cabinets. Keep in mind that the interior of the cabinet may have only that side finished.
-
![integrated panel]()
Integrated Cabinet Only
The side of the cabinet box is finished, but the area of the legs is not. This end style is mainly available in cabinets where the legs are decorative. Keep in mind that the interior of the cabinet may have only that side finished.


Finished Ends & Scribe
- When ordering a cabinet with a finished end, the side panel will include a 3/4" scribe to the walls and floor.
- If you order a finished end panel online, you can choose standard 3/4" scribe or extended 2” scribe to the walls and floor.
- IMPORTANT! Profile Laminate Doors won’t come with any type of scribe.
- There are many ways to scribe to a wall. Here is one way to scribe to a wall. Special tools required.
Custom Cabinetry Solutions
-
![frameless custom cabinets]()
Frameless Cabinets
Order frameless cabinets from the MKE Cabinetry line. Custom made in our Milwaukee shop and available for pickup or delivery.
-
![inset custom cabinets]()
Inset Cabinets
Order inset cabinets from the MKE Cabinetry line. Custom made in our Milwaukee shop and available for pickup or delivery.
-
![cabinet design services]()
Design Services
Work with a designer at MKE Cabinetry to design your cabinets. We handle the design and ordering of your project. Installation is also available.